How to Connect Wireless Thermostat to Boiler: A Complete Guide
Imagine cutting down on your energy bills while staying comfy at home without lifting a finger. No more adjusting the thermostat manually or wasting energy when you’re not around. That’s where a wireless thermostat comes in. It gives you total control of your home’s heating with just a few taps on your phone.
Did you know? Connecting this smart device to your boiler opens up a world of convenience and can reduce your heating costs by up to 10-15%!
Excited to make your home more efficient and comfortable? Dive into this guide and we’ll show you how to connect wireless thermostat to boiler. It’s a simple process that will help you start enjoying those benefits right away.
What is a wireless thermostat?
A wireless thermostat provides the control of your home’s temperature at your fingertips, connecting wirelessly to your heating system, usually through a receiver attached to the boiler. By eliminating the need for traditional wiring, it offers greater flexibility and ease of installation.
Thanks to its remote control features, you can adjust your home’s temperature from anywhere using a simple mobile app. Whether you’re ensuring a cosy home when you arrive or saving energy while you’re out, wireless thermostat offers numerous benefits.
Additionally, as you transition from summer to colder months, ensuring your boiler is properly started and optimised is crucial for maintaining efficiency.
In short, wireless thermostats are a game-changer for home heating. By blending cutting-edge technology with effortless control, they make it easy to boost comfort, conserve energy, and simplify your daily routine.

How does a wireless thermostat work?
To see how a wireless thermostat can elevate your home’s comfort and efficiency, let’s break down its key components and its operation. Discover how these elements work together to deliver a smooth, smart experience.
Components of a Wireless Thermostat
- Thermostat Unit: Think of this as the brain of your setup. Mounted on your wall, it houses the temperature sensors and user interface, making it easy for you to interact with your thermostat.
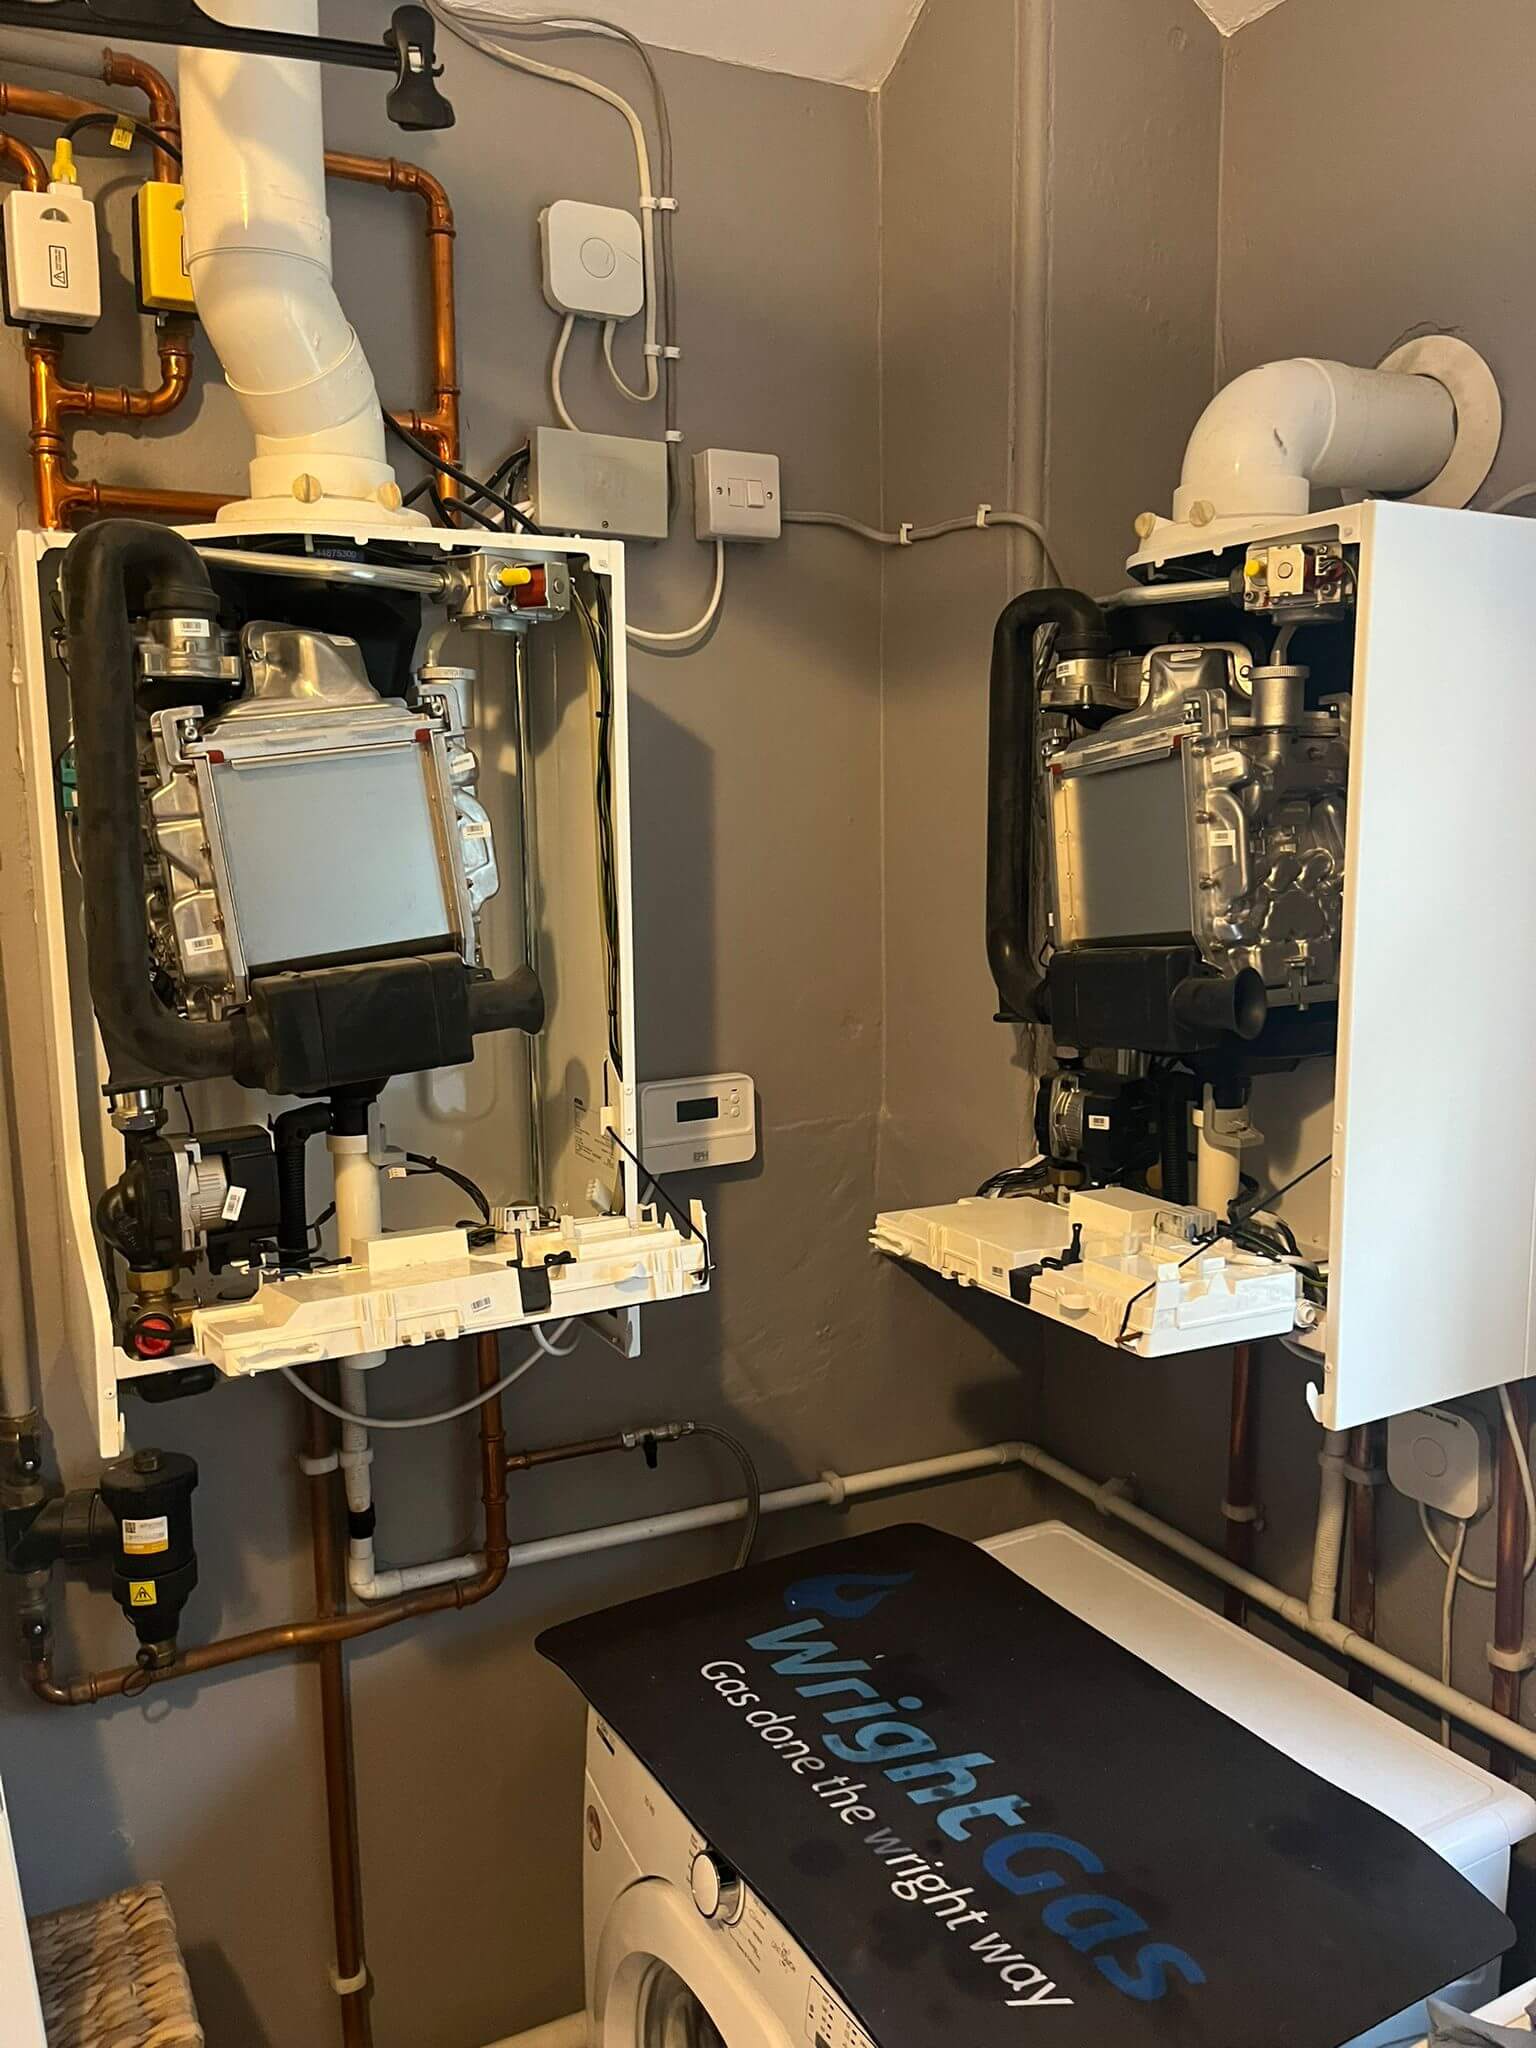
- Receiver or Hub: This is your thermostat’s communication link. It connects to your heating or cooling system and wirelessly relays signals from the thermostat, keeping everything in sync without the hassle of wires.
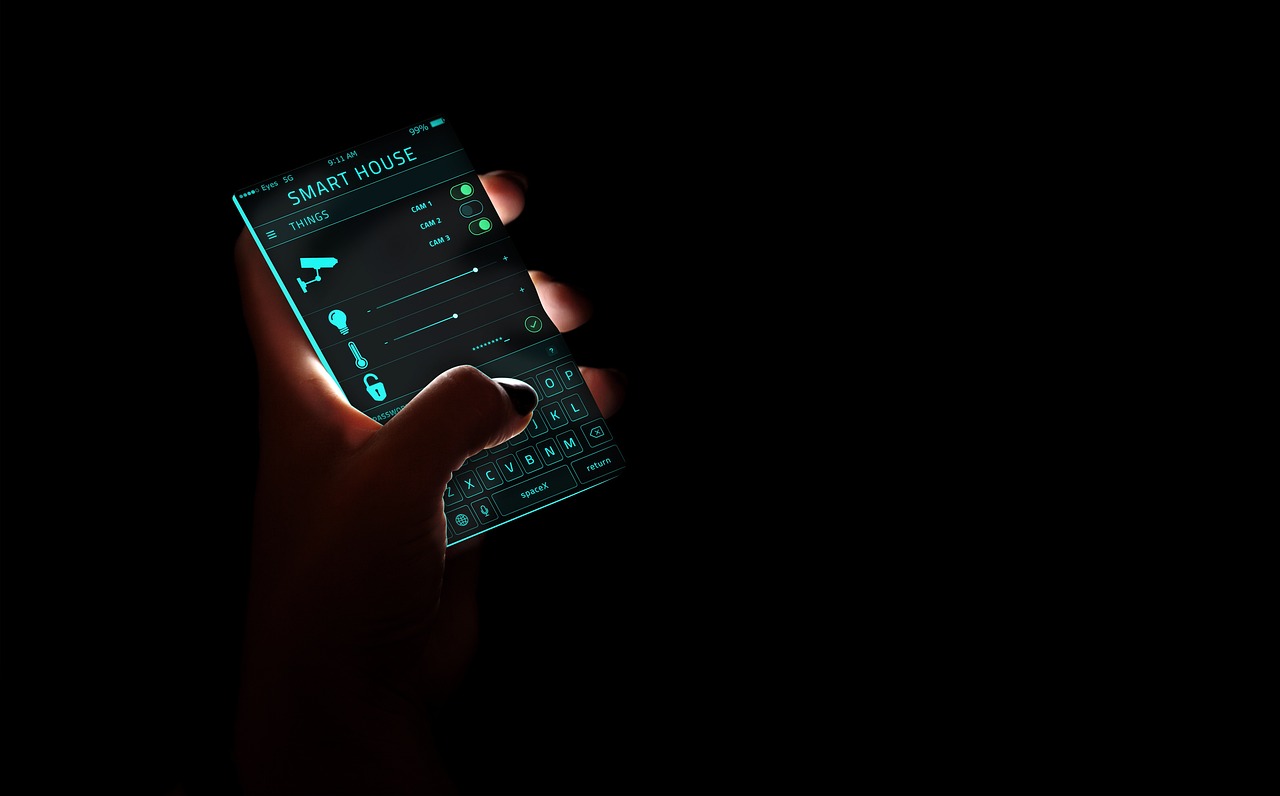
- Smartphone App: This app serves as your personal command centre. It lets you control your thermostat from anywhere, whether you’re cosy on the couch or on the go, and provides real-time updates on your home’s climate.
- Wi-Fi Connectivity: The invisible thread that ties it all together. This feature connects your thermostat to the internet, enabling seamless communication with other smart home devices and ensuring everything runs smoothly.
- Power Supply: This component keeps your thermostat powered up and ready to go. Whether it’s batteries or a low-voltage connection, it ensures your thermostat remains operational.
Key Functions of a Wireless Thermostat
- Communication: Picture your thermostat as a high-tech messenger. It links to your home’s Wi-Fi network and communicates wirelessly with your HVAC system through a receiver or hub connected to your boiler or furnace.
- Temperature Sensors: These sensors act as vigilant guardians. They continuously monitor your home’s temperature, ensuring consistent climate control and maintaining your comfort.
- Remote Control: Here’s where convenience shines. With just a few taps on your smartphone app or web interface, you can adjust settings, change temperatures, set schedules, or turn your system on or off from anywhere in the world.
- Automation: Automation brings out your thermostat’s intuitive side. It learns from your habits and preferences, automatically adjusting settings to fit your lifestyle, enhance comfort, and boost energy efficiency.
- Feedback: Real-time updates provide valuable insights. Your thermostat sends information on temperature and energy usage through the app, keeping you informed about how effectively your system is running and helping you stay in control.

How to connect wireless thermostat to boiler?
Getting Ready for Installation
Before diving into the installation of a wireless thermostat, it’s essential to ensure everything is prepared. This includes verifying compatibility with your boiler, selecting an optimal thermostat location, and gathering the right tools and materials. Proper preparation ensures a smooth setup and efficient operation.
Verifying Boiler Compatibility:
Begin by confirming that your boiler can work with a wireless thermostat. Most modern systems are compatible, but it’s wise to double-check. Look up your boiler’s model number in the manual or online to ensure it supports wireless technology.
When it comes to upgrading an old boiler, a common question arises: Can you make your old boiler smart? Older models might require additional components or may not support wireless thermostats at all.
Also, understand the existing wiring setup, typically involving a pair of wires connected to the control circuit. If you’re uncertain, consulting a professional can prevent potential hazards.
Selecting the Ideal Location:
Choosing the best spot for your thermostat is crucial for accurate temperature readings. Install it in a central location within the home, away from heat sources, drafts, or direct sunlight.
Avoid placing it near windows or doors where temperature readings might be skewed. Mounting the thermostat on an interior wall helps maintain consistent readings and ensures better control over your heating system.
Choosing the Appropriate Wireless Thermostat:
When selecting a wireless thermostat, ensure it aligns with your heating system’s requirements and includes the features you want. Review product guides and customer feedback to assess:
- Compatibility with your heating system
- Wireless communication range
- Programming capabilities
- Smart features such as Wi-Fi connectivity
- Battery life of the thermostat
- User-friendliness and intuitive controls
Assembling Essential Tools:
Prepare your tools and materials to streamline the installation process. You will need:
- Screwdrivers: Both flathead and Phillips for various screws
- Wire strippers: For preparing wires
- Cable Staples: Secure and tidy wiring.
- Drill with bits: To mount the thermostat
- Hollow-Wall Anchors and Screws: Ensure secure mounting.
- Level: To ensure the thermostat is installed straight
- Multimeter: To check electrical connections
- Installation Manual: For step-by-step guidance
Ensure the power to the boiler is turned off before starting any wiring work to avoid electrical risks.
The Installation Steps
Now that you’ve prepared everything, let’s dive into how to connect wireless thermostat to boiler. Connecting a wireless thermostat to your boiler involves installing the receiver, wiring it to the boiler, and setting up the thermostat. Follow these steps to ensure everything functions correctly.
Installing the Receiver:
The receiver, which facilitates communication between the thermostat and the boiler, should be installed first:
- Location: Place the receiver near the boiler, ensuring minimal obstructions for optimal signal strength. Mount it using screws or adhesive, following the manufacturer’s recommendations.
- Power Source: Ensure the receiver’s power source is accessible. Some models use batteries, while others plug into an outlet. Securely mount the receiver in a dry area to avoid potential issues.
Connecting Wireless Thermostat to Boiler:
Next, connect the receiver to your boiler:
- Wiring: Identify the existing thermostat wiring on your boiler, usually a pair of wires leading to the control circuit. Turn off the power to the boiler before proceeding.
- Connections: Refer to the thermostat’s instructions to connect the receiver wires to the boiler’s terminals. Tighten all connections to prevent loose wiring issues. After connecting, turn the power back on and verify that the receiver powers up correctly.
Setting Up the Wireless Thermostat:
With the receiver in place, proceed to set up the thermostat:
- Placement: Mount the thermostat on an interior wall, away from drafts and direct sunlight. Position it at a suitable height for accurate temperature detection. Once paired, program your desired temperature settings and schedules.
- Batteries: Insert batteries if required and power on the thermostat. The display should light up, indicating it’s ready to be paired.
- Pairing: Follow the manufacturer’s instructions to link the thermostat with the receiver. This usually involves pressing a button on the receiver and following on-screen instructions.

Programming Your Wireless Thermostat
Customising your home’s heating schedule can be done through the thermostat interface or a smartphone app, offering flexibility and energy savings.
Thermostat Interface
The thermostat interface allows for direct programming:
- Navigation: Access the scheduling menu on the thermostat display. Most models offer options for daily or weekly schedules.
- Programming: Set temperatures for different times of the day, such as morning, afternoon, and evening. Adjust default settings to fit your routine, like warming up before you wake and cooling down after you leave for work.
- Auto Mode: Ensure the thermostat is set to auto mode to adhere to your schedule. Save your settings to ensure they are applied correctly.
Smartphone App:
A smartphone app enhances convenience:
- Download: Install the manufacturer’s app on your mobile device and connect it to your thermostat via Wi-Fi.
- Control: Use the app to create and adjust heating schedules. The app often includes additional features like notifications and energy usage reports.
- Remote Access: Adjust settings and schedules remotely, even when you’re away from home. This ensures your heating system remains optimised.
Testing Common Wireless Thermostat Issues
After installation, it’s important to test the system and address any issues to ensure smooth operation.
Ensuring Proper Functionality:
- Initial Test: Turn on the system and set the thermostat to trigger the boiler. Observe if the boiler responds as expected. If it does, the pairing is successful.
- Scheduling Test: Use the thermostat’s scheduling feature to test different temperatures throughout the day and confirm that the boiler adjusts accordingly.
Addressing Connectivity Issues:
- Signal Strength: Ensure minimal obstructions between the thermostat and boiler. Move the thermostat closer if necessary. If issues persist, consult the manual for advice on improving signal strength and resolving interference.
Battery and Power Checks:
- Power Supply: Verify that both the thermostat and boiler have sufficient power. Replace batteries if needed and check that the receiver is properly powered. Regularly maintain power sources to prevent disruptions.
Maintaining Your Wireless Heating System
Regular maintenance and updates are essential for keeping your wireless thermostat and boiler running efficiently.
Routine Maintenance:
- Cleaning: Gently clean the thermostat and exposed parts to remove dust and debris.
- Connections: Periodically check the connections between the thermostat and receiver to ensure they are secure.
- Inspection: Look for any signs of wear or damage and address them promptly to avoid costly repairs.
Updating software:
- Updates: Keep the thermostat’s firmware up to date to benefit from bug fixes and performance improvements. Follow manufacturer instructions for updates, which may involve downloading updates directly or manually from a USB drive.
Battery Management:
- Checks: Regularly monitor battery levels and replace them as needed, typically every 6-12 months. Use high-quality batteries for reliable performance.
These guidelines show you how to connect a wireless thermostat to your boiler, ensuring it operates efficiently and enhances both comfort and energy savings in your home.

Wrapping Up…
In conclusion, upgrading to a wireless thermostat transforms how you manage your home’s comfort and efficiency. Imagine effortlessly controlling your heating with just a few taps on your smartphone while enjoying potential energy savings. This smart technology not only simplifies your life but also helps you stay cosy and cut down on costs.
If you’re ready to take your home’s comfort to the next level but need a bit of expert guidance, we’re here to ensure a smooth installation and to answer any questions you might have on how to connect a wireless thermostat to boiler. Reach out to us and let’s make your home smarter together!


 ENDORSED BY Which? TRUSTED TRADERS


